Easy
45 min·4 servings
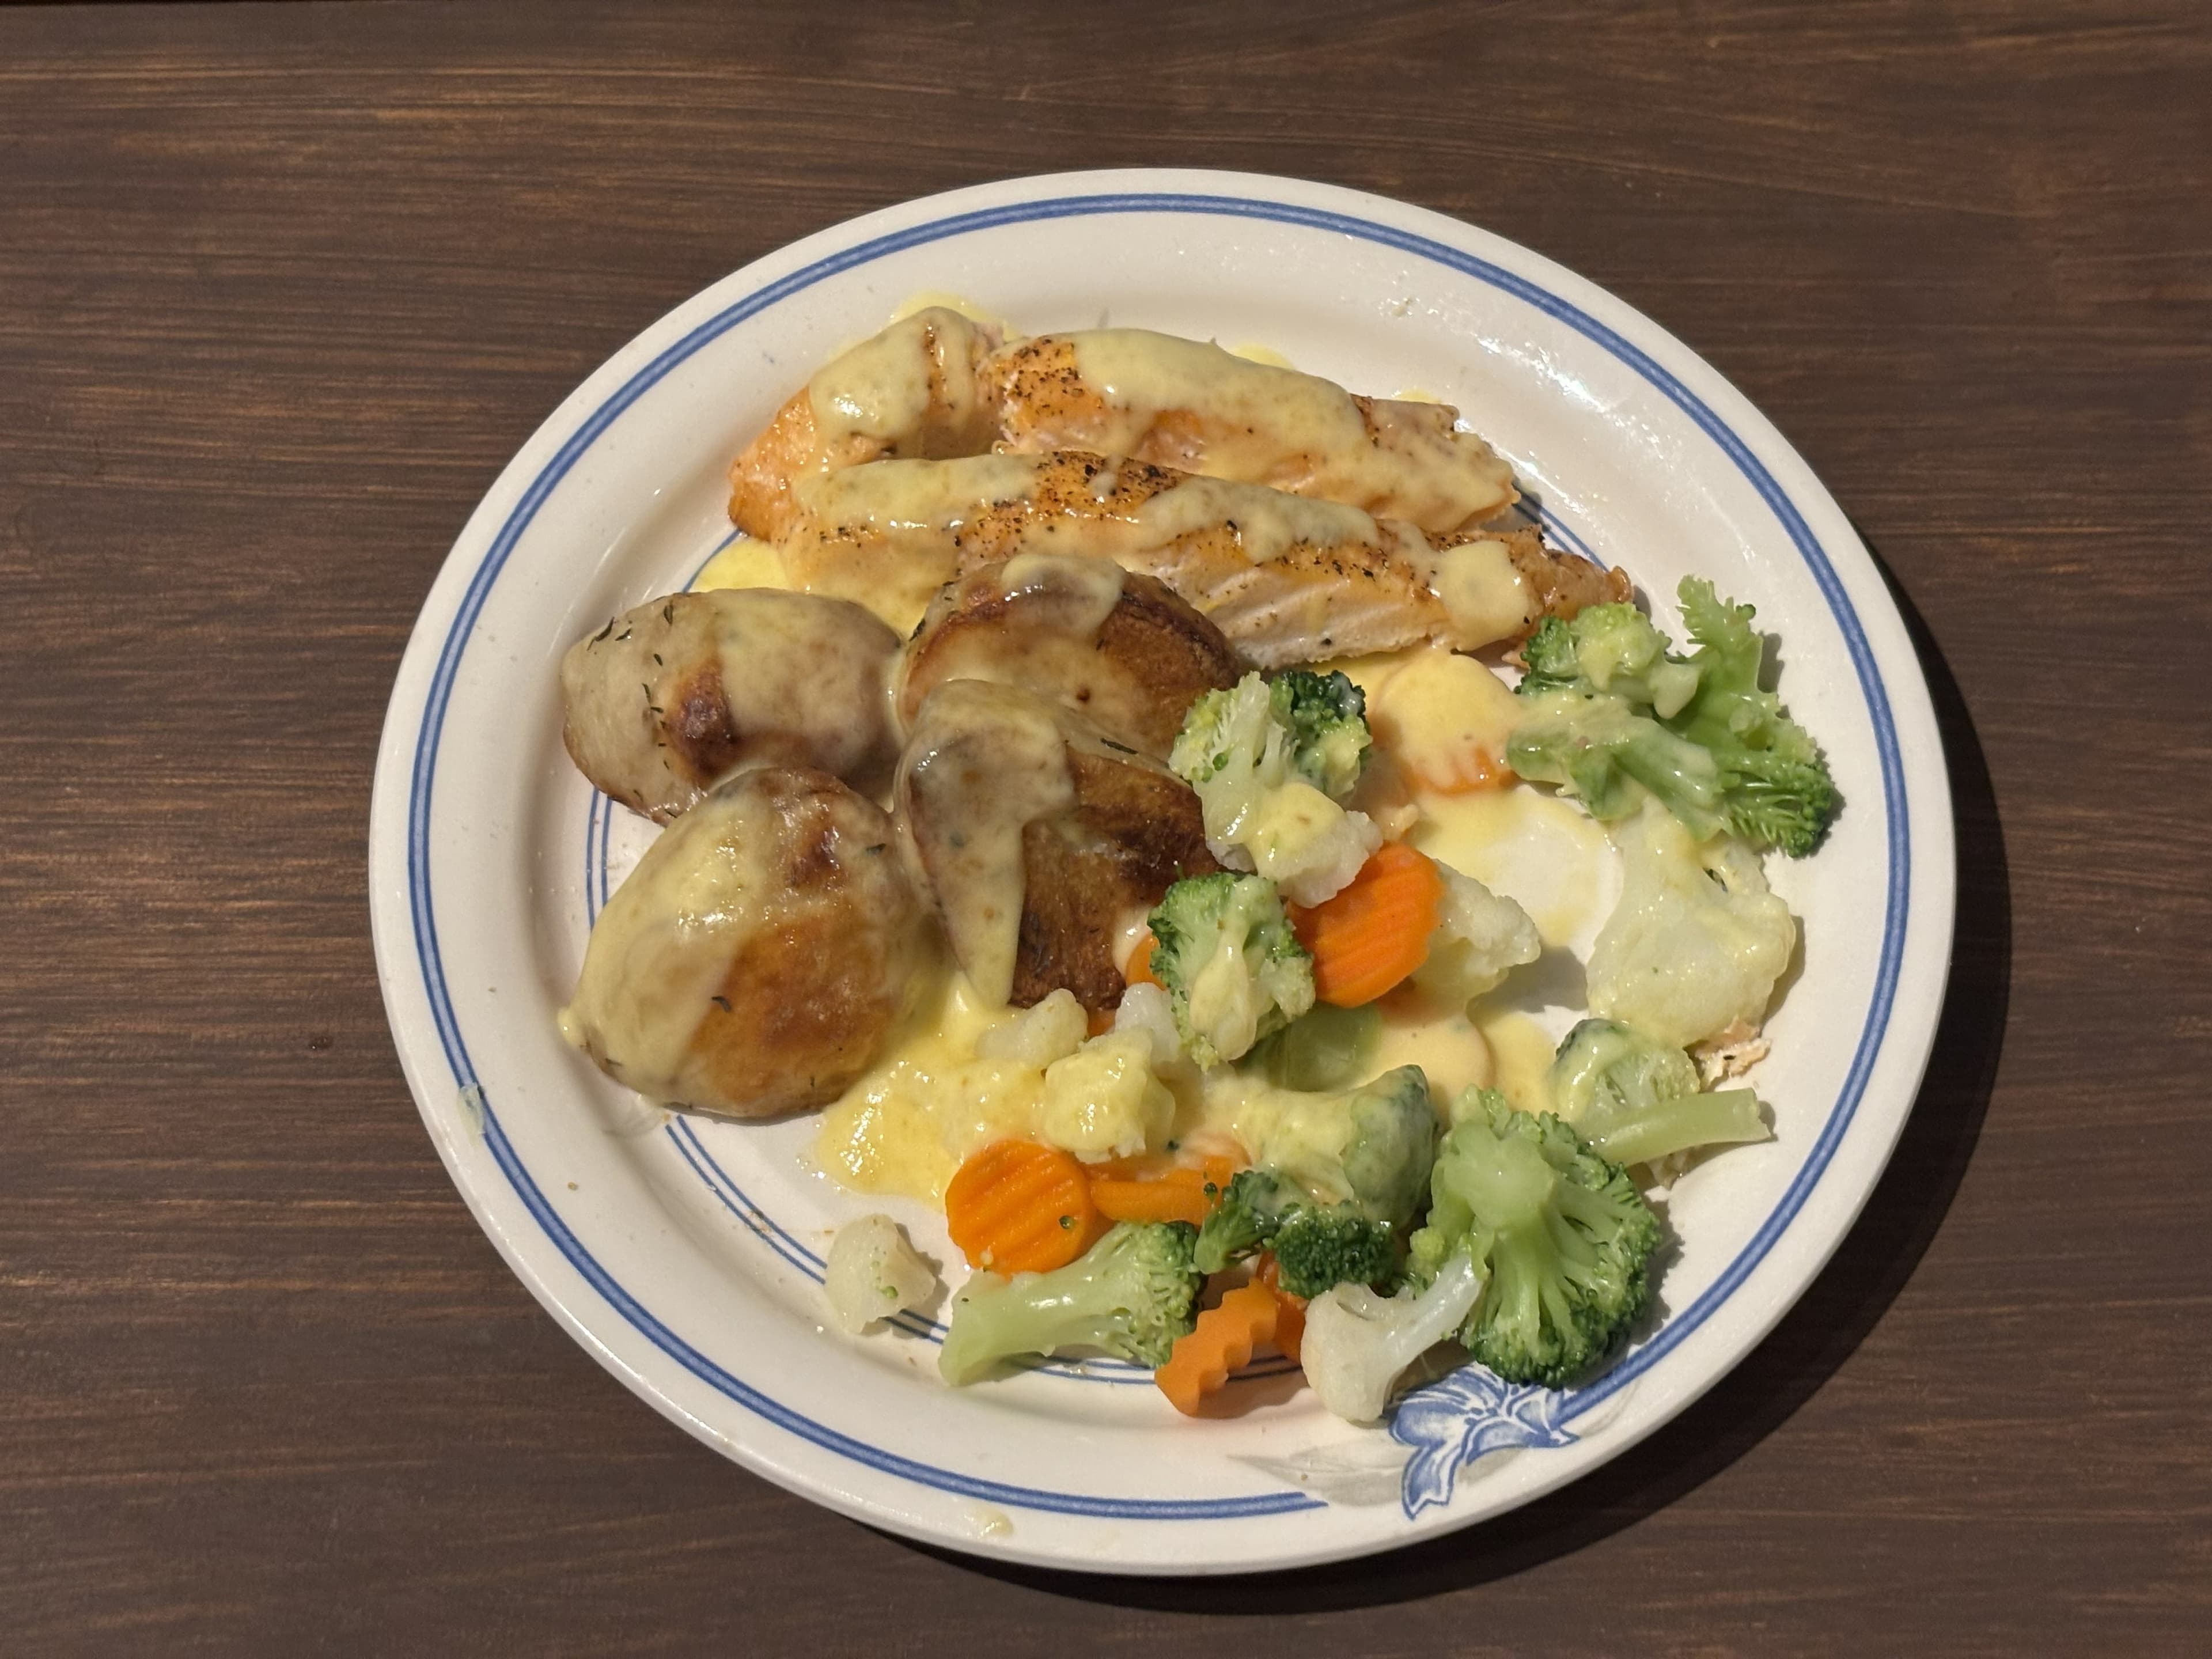
Oven-Baked Salmon with Potatoes
Crispy salmon with roasted potatoes and herbs
fishdinnerone-pan

This gluten-free sourdough takes patience but rewards you with a deeply flavoured, chewy crust and an airy, open crumb. Made with a blend of rice flour, tapioca starch, and psyllium husk, it mimics the structure of traditional sourdough beautifully. Perfect sliced thick with salted butter on a lazy Nordic morning.
I have made this recipe many times in a home gluten-free kitchen, and it is one of the dishes I rely on when I want dependable texture and flavor. The method is written to remove guesswork, with specific timing and practical notes from repeat test cooks. If you are cooking gluten-free for yourself or someone you care about, this recipe is designed to be clear, safe, and repeatable.
Whisk together rice flour, tapioca starch, potato starch, psyllium husk, and salt in a large bowl.
In a separate jug, dissolve yeast in warm water and let sit for 5 minutes until foamy.
Add the yeast water, apple cider vinegar, and olive oil to the dry ingredients. Mix until a sticky dough forms.
Cover the bowl with a damp cloth and let rise in a warm spot for 1½ hours, until roughly doubled.
Shape the dough into an oval and place in a floured banneton or a bowl lined with a floured cloth.
Cover and refrigerate overnight (8–12 hours) for a slow cold proof.
Preheat oven to 240 °C with a Dutch oven inside for 30 minutes.
Turn the dough onto baking paper, score the top with a sharp blade, and lower it into the hot Dutch oven.
Bake covered for 25 minutes, then remove the lid and bake a further 20–25 minutes until deeply golden.
Cool completely on a wire rack before slicing — at least 1 hour.
Related recipes: Oven-Baked Salmon with Potatoes, Lemon & Almond Cake, Buckwheat Blueberry Pancakes. Pair them with a structured week in our meal plans.
Crispy salmon with roasted potatoes and herbs
Moist, golden, and sunshine-bright — the cake that won't last a day.
Hearty, nutty, and stacked high — the perfect slow-morning breakfast.